Posted on 3 Comments

Creating “Brave”

As promised (OK, a little later than promised, but still!) here’s my step-by-step for the creation of my latest painting, “Brave”.
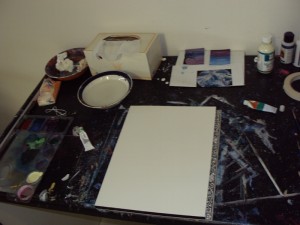
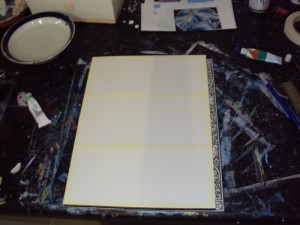
Step one - creating "Brave"
Step 1 - OK I probably didn't need to show you this - the blank page. I've started using watercolour blocks instead of pads or loose sheets, and they're great! You dont' have to tape them down at all.
Creating "Brave" - step 2
Step 2: Using masking fluid, I masked off the edge of the paper and created three separate panels.
Creating "Brave" - step 3
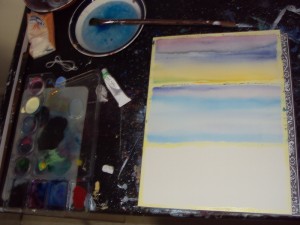
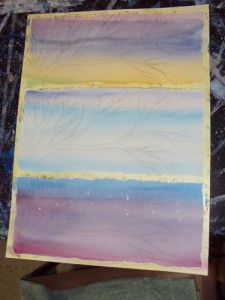
Step 3 - Colour washes for the background. Here I've done the first two. I tried to give a feeling of the day passing - using the colours of sunrise, midday and twilight.
Creating "Brave" - Step 4
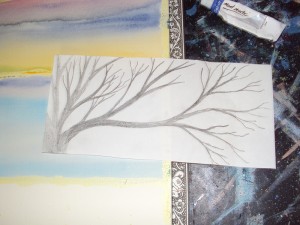
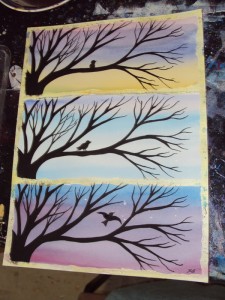
Step 4: As I wanted to convey the idea of the same tree and bird changing over time, I wanted my tree to look the same in each panel. I usually paint my trees freeform, without sketching them first. This time, I sketched a tree in pencil first, and transferred it to the 3 panels so each would be the same.
Creating "Brave" - step 5
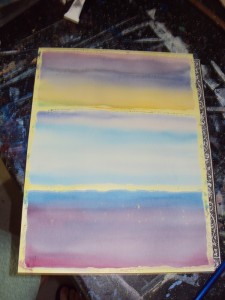
Step 5 - 3rd background wash. I did this panel a little later as I was waiting for the masking fluid I used to create the stars to dry.
Creating "Brave" - step 6
Step 6 - The tree sketch transferred onto each panel of the painting.
Creating "Brave" - step 7
Step 7 - Trees and birdies painted in.
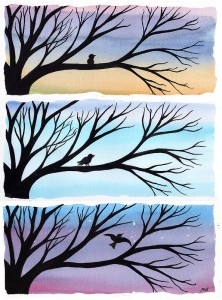
"Brave" - original watercolor painting by Kirsten Bailey
Step 8 - Masking fluid rubbed off, painting completed!!

Hope you liked learning about how I created this painting 🙂